
September 11, 2026 · Joe Molina
How to protect leather car seats from sun in the South Bay
South Bay sun, sand, and wet beach gear can age leather seats. Learn a practical care routine and when interior detailing helps.
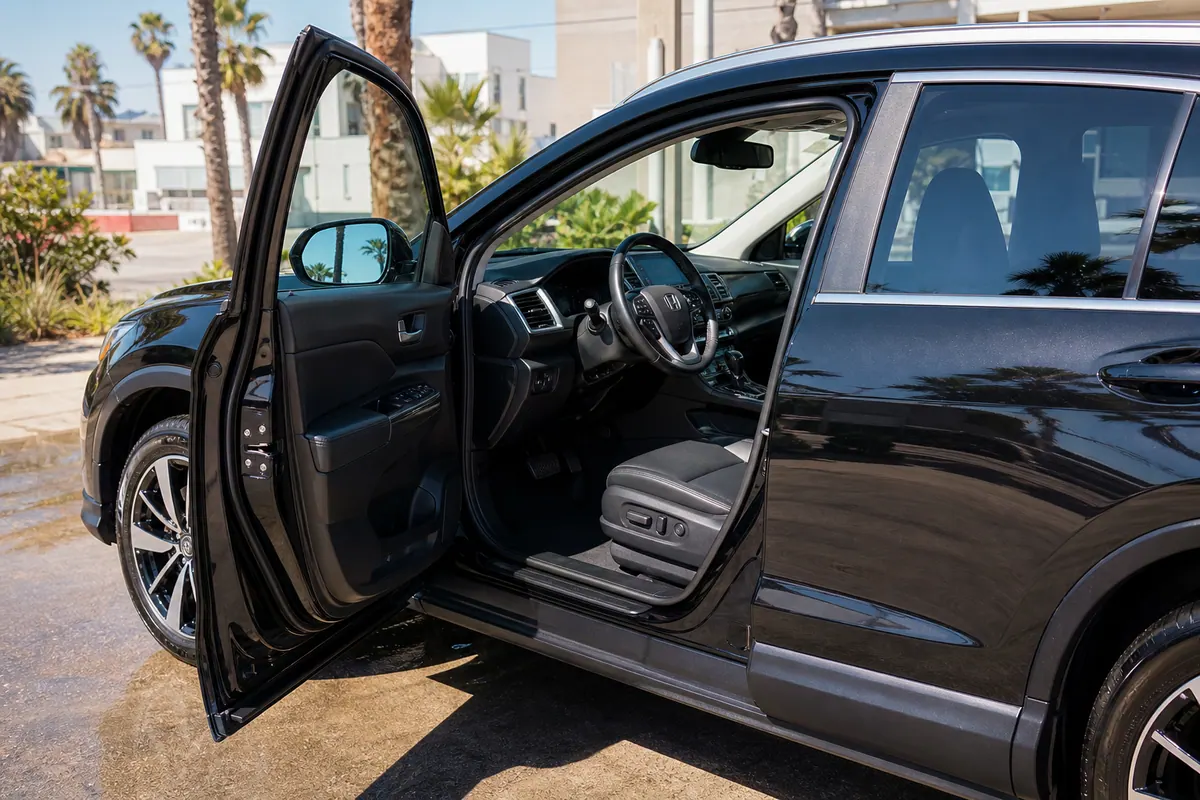
A dark car seat can feel hot after one lunch stop near the water. The slower wear is easier to miss: a little sand at the stitching, sunscreen on the side bolster, a damp towel after the beach, and hours of sun through the same window.
That is the real South Bay pattern. Sun is part of the problem, but daily residue and the way it gets cleaned can age a seat too.
If you are wondering how to protect leather car seats from sun, start with four habits: identify the material, remove grit before wiping, keep wet beach gear off the upholstery, and use only products approved for that vehicle. The routine is simple once you stop treating every leather-looking seat the same.
Start with the seat label, not the bottle
“Leather interior” can describe several surfaces in one cabin. The center panels may be real leather, the sides may be synthetic, and an insert may be suede-like material. Perforated seats can also hide heating, ventilation, sensors, or airbag seams beneath the surface.
Check the window sticker, owner’s manual, or manufacturer care page before buying a cleaner or conditioner. Do not identify the material by touch or price alone.
Current Hyundai interior-care guidance, for example, gives specific instructions for natural and Nappa leather, including vacuuming sand and consulting a specialist before applying a coating or protector. A current Toyota owner’s manual separately lists leather and synthetic-leather cleaning steps, with vacuuming before either process and shaded drying for real leather.
The useful takeaway is not that one brand’s method fits every car. It is that the manual gets the final say. A product labeled “for leather” may still be wrong for the coating, synthetic panel, or insert in front of you.
Sand comes off before any cleaner goes on
Beach sand is not just a floor-mat problem. It settles into stitching, perforations, the gap between the seat bottom and back, and the outboard bolster where you slide into the car.
Wiping first can move that grit across the surface. Vacuum first instead:
- let damp sand dry so it lifts more cleanly
- use low, controlled suction and avoid pressing a hard nozzle into the seat
- open seams gently rather than digging into them
- slide the seat only as the owner’s manual allows, then check the rails and floor below
- finish the loose-grit pass before introducing moisture or cleaner
This matters after a family afternoon in Redondo Beach or a volleyball stop in Hermosa Beach. One sandy passenger may leave the seat looking fine from the door while grit stays packed along the stitching. The correct order—dry debris first, surface cleaning second—prevents the cleanup from becoming another source of abrasion.
If the whole cabin is gritty, use the same top-to-bottom idea from the seats to the carpet and mats.
Sun wear follows your parking pattern
Sun exposure is rarely even. Look at the car the way it sits most days.
A vehicle parked nose-out near the beach may get the strongest light across the front seat shoulders. A driver’s seat next to the sunny side window may show wear first on the upper bolster. A child’s seat or beach bag can shade one section while the surrounding material gets the full afternoon.
Check those repeated exposure zones monthly in daylight. Look for a change in color, sheen, softness, or texture rather than waiting for a crack. A windshield sunshade and covered parking can reduce direct exposure when they are practical, but neither replaces cleaning. Dirt and body oils still collect on a shaded seat.
This is especially useful for cars that sit in open beach lots around Manhattan Beach. Instead of coating the entire cabin every few weeks by habit, notice which surfaces are actually changing and follow the maker’s care instructions for those materials.
Beach residue needs a same-day decision
Wet swimsuits, salty towels, sunscreen, and iced drinks create different problems, but they share one rule: remove the source promptly.
Lift a wet towel instead of letting it dry on the seat. Blot a fresh spill with a clean, absorbent cloth. Vacuum loose sand once it is dry. Then check the manual for the approved cleaning method before adding a household spray, degreaser, or heavy conditioner.
Do not scrub harder because sunscreen left a shiny mark. Do not soak a perforated seat to chase saltwater below the surface. Avoid closing a still-damp interior in direct sun; let the cleaned area dry as the manufacturer directs.
The same spill can cross several materials on its way down. A wet swimsuit may touch leather, run over synthetic trim, and reach carpet beside the seat rail. Treat each surface by its own instructions. If moisture reached electronics, airbag seams, seat controls, or an area you cannot dry, stop experimenting and ask the vehicle manufacturer or a qualified specialist.
Choose the service by what the seat is doing
Leather care is not automatically the biggest detail on the menu. Match the service to the condition.
| What you see | Practical starting point |
|---|---|
| Loose sand, light dust, and an otherwise clean cabin | A full-service wash with interior vacuum and wipe |
| Dirty mats, dashboard buildup, and seats that need compatible conditioning | The Sandcastle express interior detail |
| Stains, embedded grime, or a cabin that needs deeper interior work | The Bonfire interior detail or the appropriate shampoo service |
| Interior and exterior both need a full reset | The Scuba Dive complete detail |
| Cracks, peeling, split seams, or permanent color loss | An upholstery or leather-repair specialist, not more cleaner |
The current detail menu identifies which packages include cleaning and conditioning or dressing for applicable leather and vinyl. Share the year, make, model, and seat material before service. Point out perforations, repaired panels, special coatings, stains, and the result you care about most.
That short handoff keeps a normal interior refresh from turning into guesswork.
Build the routine around real South Bay days
The most useful leather-seat care schedule is event-based:
- Use shade when it is available during long beach parking.
- Remove wet towels, swimsuits, food, and sunscreen-covered gear when the trip ends.
- Vacuum after sand reaches the seats instead of grinding it in for another week.
- Handle fresh spots with the vehicle maker’s approved method.
- Inspect the same sun-facing bolsters and seat tops once a month.
That works for a family SUV coming from North Redondo Beach, a daily commuter between Torrance and the coast, or a car that only sees weekend beach traffic. The trigger is what happened to the seat, not a generic date on the calendar.
If vacuuming and an approved wipe are enough, keep it simple. If sand is embedded, the finish feels uneven, or the cabin needs compatible cleaning and conditioning, compare the detail options or contact Redondo Car Wash before visiting 617 Torrance Blvd. A clear description of the seat material and the problem will help the crew point you toward the smallest service that fits.
Up next
First time here? Unlock your free wash.
Built for sandy South Bay cars, clear prices, and no membership games.
Keep reading
More from the blog
Sep 2026
Can matte paint go through a car wash? A South Bay finish check
Can matte paint go through a car wash? Learn how factory paint, wraps, wax, brushes, and South Bay grime change the safest answer.
Sep 2026
Can a convertible go through a car wash? A South Bay roof-check guide
Can a convertible go through a car wash? See how roof type, owner-manual rules, seals, and wash equipment change the answer in the South Bay.
Sep 2026
Orange spots on white car paint: what South Bay drivers should check
Tiny orange specks on white paint may be surface iron, not body rust. Learn what South Bay drivers should check and when detailing helps.